Create Grainy Airbrush Shading in Procreate With Dohee Kwon

True Grit Tools & Apps Used:
✓ Sample Sketchers – free!
✓ Grain Shader Brushes
✓ Infinite Pulp Paper Textures
✓ Distress Press Brushes
✓ Procreate
✓ Adobe Photoshop
Software skill level:
I'll be breezing through some of the technical stuff but if you've got a handle on the basic functions of Procreate and Photoshop you'll do great!

Part 1:
Sketching ideas.
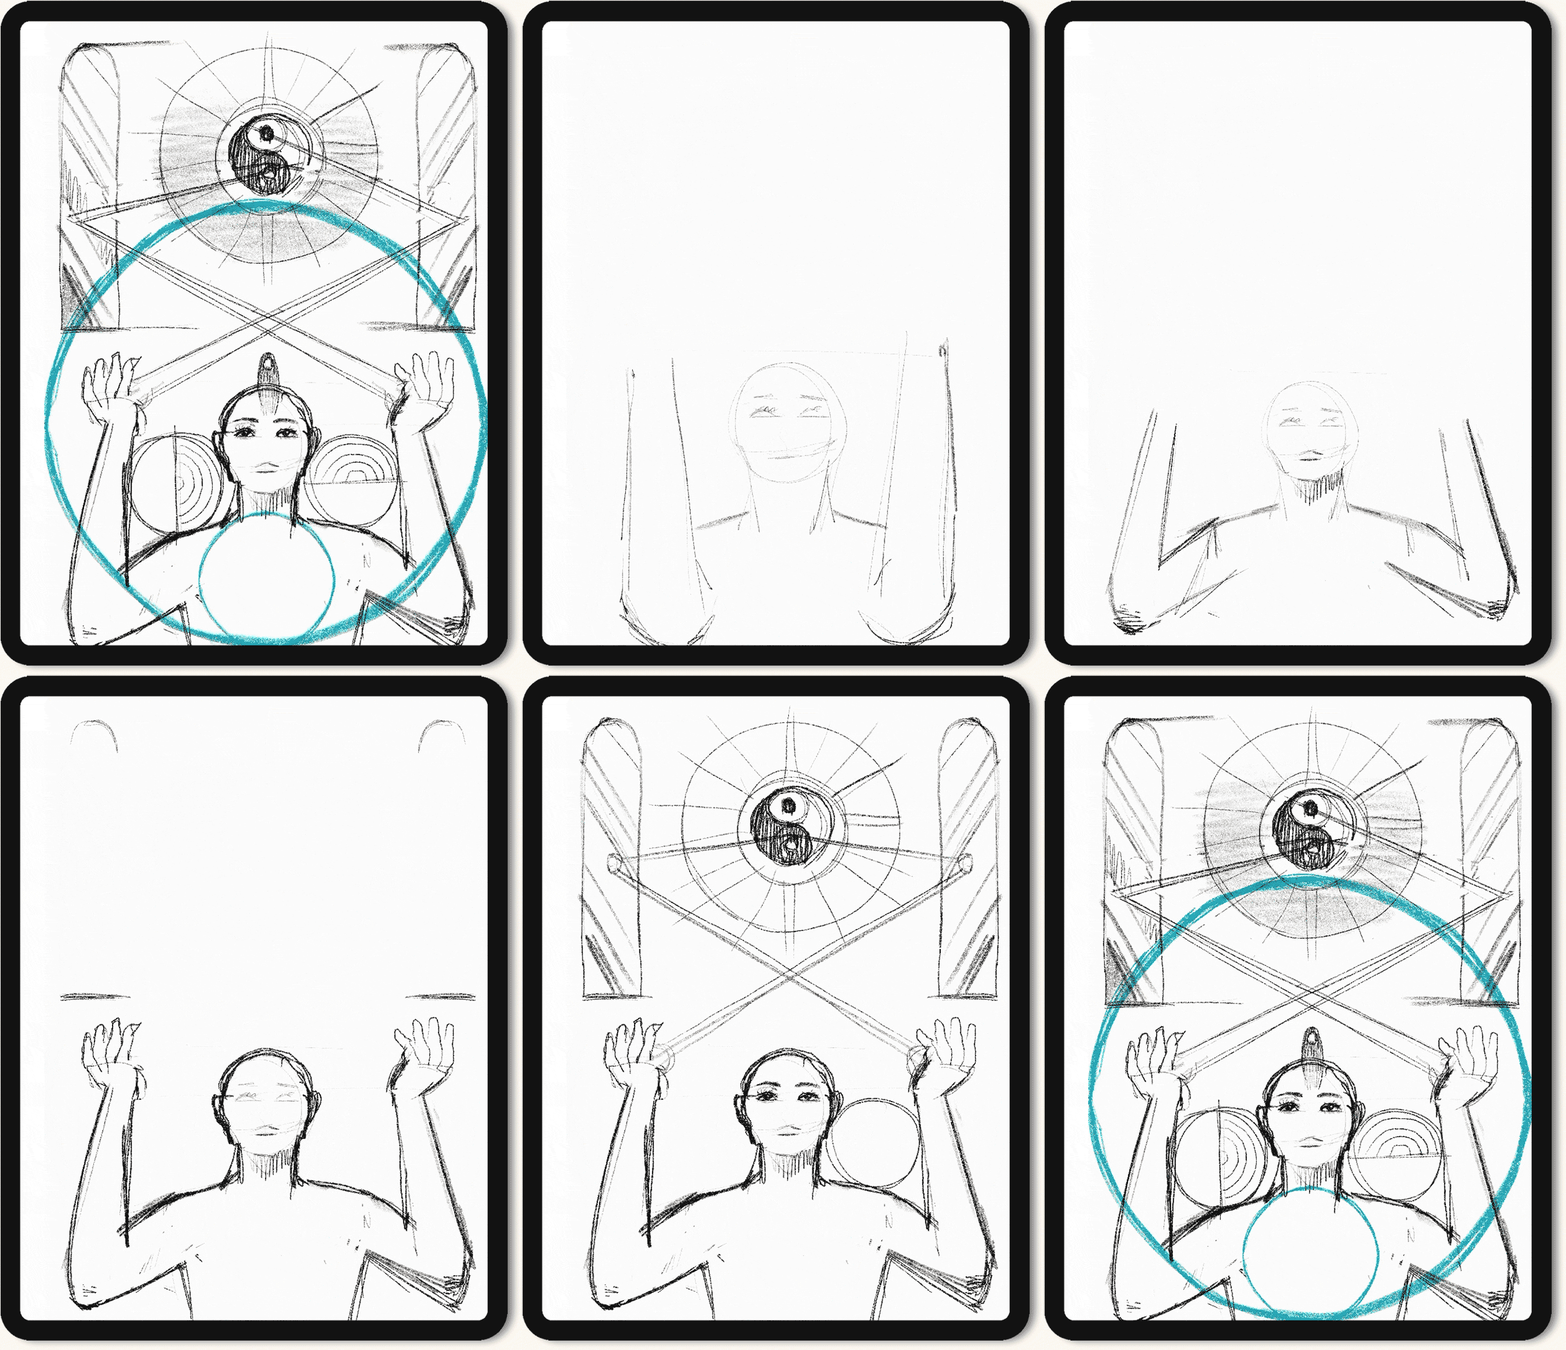
Although music and nature are my biggest inspirations, I get many ideas from many other random things in my daily life. So whenever something pops up in my head, I always try to put them in a rough sketch in Procreate.
I make one centered visual with the key message and let the other components come naturally. I develop the sub-objects or background during the sketching or even while coloring.
I used the 'Sketchbook Pencil HB’ brush from the True Grit free Sampler. I'm not too precious with my sketches and it’s always quick, simple, and easy to use.

Part 2:
Placing shapes & coloring.
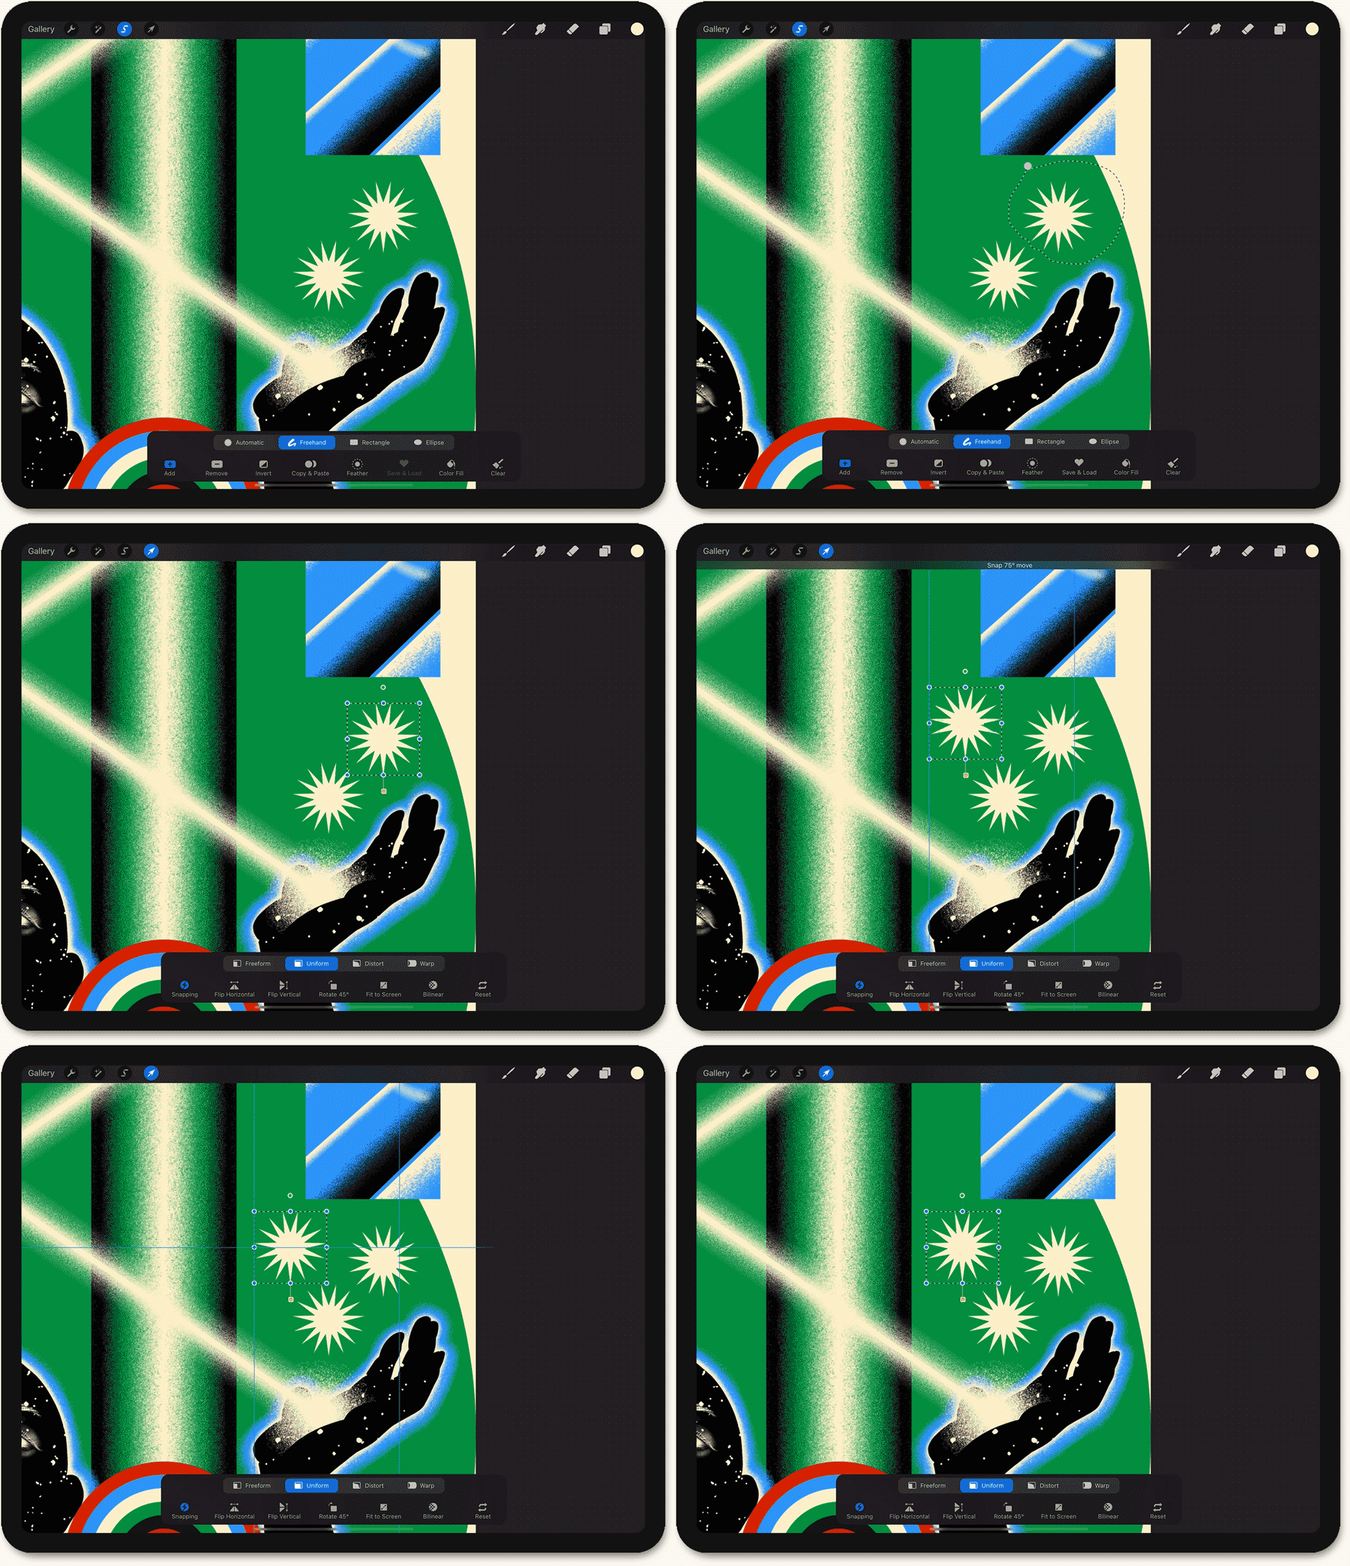
The first thing I do after the sketch is placing the big geometric shapes into my canvas. I always start my process with the big, bold shapes and finish with the small details and textures.
To speed things up, I've saved a collection of pre-made geometric shapes that I frequently use to my Photos app so I can quickly import them into my Procreate canvases as needed.
To import a shape, tap Actions > Add > Insert a photo. Your Photos app will pop up. Scroll through your folders to find the shapes you've saved to your iPad.
Drawing Organic Shapes.
Next up, I start drawing my organic shapes, in this instance, the human silhouette that forms the central figure in my composition. My work is very geometric so even when drawing organic forms, I often use Procreate's Symmetry Guide. Watch the video below to see it in action.

Clipping Mask
Clipping masks are an essential tool in Procreate and Photoshop and all other design programs. It allows you to set visible boundaries of the graphic and hide some portion of the image. I like to use this tool to make shapes overlaid with different colors.
To apply a clipping mask, move the shape you want to clip above the shape you want to constrain it to. Tap on the top shape layer in the layers panel and select Clipping Mask.
Part 3:
Adding gradients, shading, and texture.
Once I’ve finished making all the objects in solid shapes, it’s time to give them life!
I'm using the standard airbrushes included with Procreate to add the large background gradients and True Grit's Grain Shader brushes for smaller details that I want to have more texture.
When I add gradients, shading, and textures, erasers are as crucial as brushes are. Using the Grain Shader brushes as textured erasers can help adjust density and depth or can make it smoother or rough. You'll see in the video below how I also use my brush opacity to soften the edges of my gradients and shading too.
To constrain the gradient to the shape, make sure the layer you're drawing on is directly above the shape layer in the layers panel then tap the layer and select Clipping Mask.
Using a regular eraser can make sharp-edges, so I often use this technique when I need to draw something very soft but with a defined shape like clouds, smoke, or a reflection on a mirrored surface.
Once I've drawn in the texture with the Grain Shader brush I choose a smooth edged brush (like Monoline) to erase one edge. To make a perfect line, I hold my pencil in place at the end of a stroke and it snaps into a straight line. You can learn more about using Quick Shapes feature here.
Distress Press Galaxy!
I really like using brushes and tools to create effects that they weren't necessarily intended to create. True Grit's Distress Press brushes are designed for adding distressing texture your artwork, but I regularly use the #3-Distress-Speckle-Sparse brush to create my galactic backgrounds, saving time, and automatically creating all the irregular shapes/sizes of stars.


Part 4:
Adding the details.
One realistic detailed object can change the whole vibe of the artwork. It can enhance the quality of the artwork and create a surreal atmosphere in contrast with the other flat objects and colors.
I combine the standard pen brushes and airbrushes from the Procreate app, with the TGTS Grain Shader brushes to create a realistic but graphic aesthetic.
When I work on a small object with details, I go through the same steps as I start the artwork: I start from a big solid shape and work on the next smaller one and the next smaller one… until I make a dot for a highlight.

Part 5:
Light it up.
I always feel like I'm creating real light in this step once I start adding the brightest colors to the artwork to create an outer glow. Again, I use my Grain Shader brushes to make subtle gradients so that the light looks bright and beautiful.

Before the final step I add in some last lights and details. It isn’t always the same as I expect from the sketch stage, so I play around with some decorative objects, add more gradients or borders, or even change colors.


Part 6:
Adding texture


Moving to Photoshop
Procreate can be a little finicky for really detailed work so I export my canvas as a PSD so I can edit all the layers in Photoshop. I then open the file in Photoshop on my laptop where it's easier to make a few last minute adjustments, re-arrange layers, edit clipping masks that I couldn’t deal with in Procreate, and add type if needed.

Adding realistic paper textures with Infinite Pulp
The Infinite Pulp series is my favorite for instantly creating realistic paper textures in my work. I love the warmth and ‘visual’ crispness they bring.
To add the paper texture, open an Infinite Pulp template file and duplicate the Texture group into your artwork (see video). Make sure the texture group is the top layer. You can also use Infinite Pulp in Procreate but I like to do it at the end in Photoshop when I'm making all of my final edits.
The paper textures are designed to fade your artwork colors a little so I usually adjust the highlight opacity to find the perfect combination of pulp texture and vivid colors.
We’re done! It’s time to enjoy the beautiful piece you made. Sometimes I look at my final work several times to check if it gives me the right energy level that I intended at the start. Once I feel alright, it means it’s ready to be released!

Thank you so much for following along with me. I hope you could find motivation and inspiration from this tutorial!
More about Dohee Kwon
Website | Instagram
Featured music: If Love Feels Like A Fever by Particle House


