The Digital Stipple Lesson You've Been Waiting For
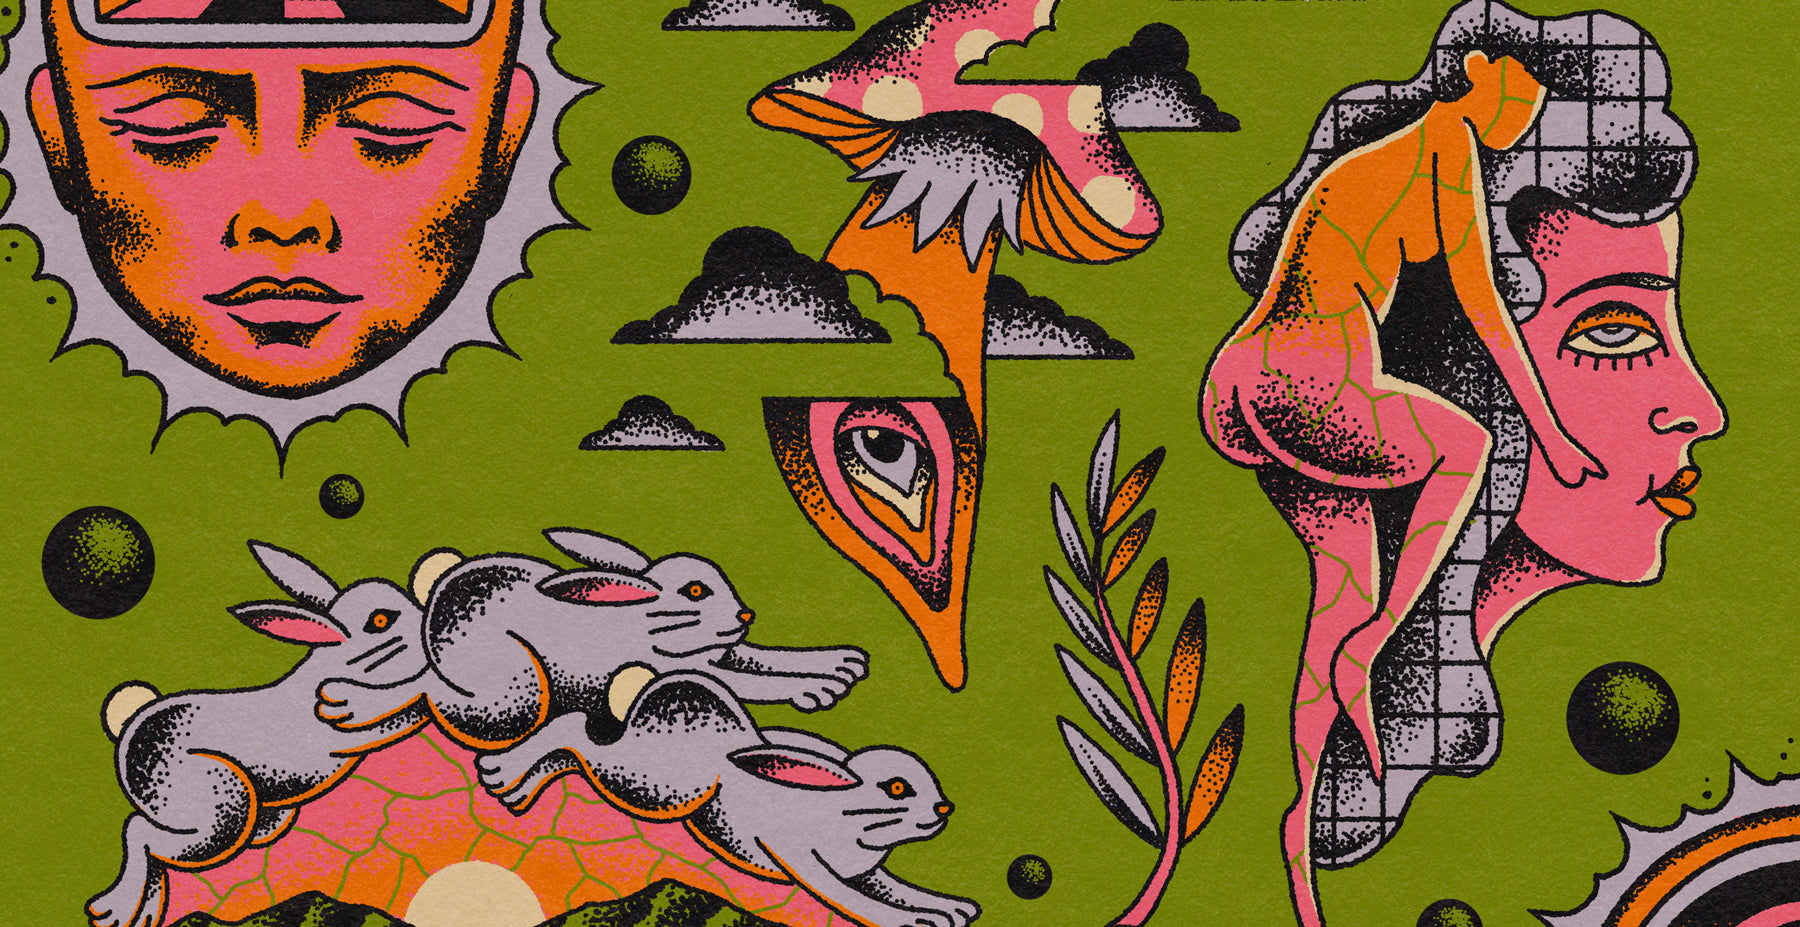
Stippling is an impressive shading technique when done right, but most digital stipple brushes lack the randomness that gives analog stippling it's unique quality. Our Stipple Studio brushes were designed to fight the status-quo, creating digital stippling that looks and feels legit, without sacrificing craft or quality.
In this tutorial, we'll show you how to harness the power of the Stipple Studio brush set with all the quality of analog, and none of the hand cramps
Photoshop featured; watch this tutorial for other apps below.
Procreate | Clip Studio | Affinity

PART 01.
PRECISION STIPPLING IN 3 STEPS.
Stipple Studio's Precision Stipplers are designed to allow maximum control of your stipple shading in a fraction of the time taken using traditional analogue techniques.
Each precision brush group comes with matching sparse, medium and densely spaced versions ready to brush on dozens (even hundreds) of authentically random dots in a single stroke. You can also tap them on with your pen one dot at a time for ultra-precise placement and fine tuning.

Watch the video below to see the step-by-step process.
Note: we're using the sketchbook texture .psd included with the Stipple Studio brush pack to give our artwork a nice analogue feel.
Example artwork by @kindred_studio
Technique Tip:
Photoshop is very good at randomizing dot placement but if you notice any obvious repetition (especially in the densely spaced brushes) try using a circular brush motion or lift your pen and reposition between strokes.

Strategic singles for gradient perfection!
Creating super-smooth stipple gradients take a little practice. Although your brushes are built for speed, relying solely on sweeping brushstrokes may result in small gaps and overlapping dots at the edge of your gradients, making your shading look rushed and uneven.
For smoother gradients, rapidly build your shading using the brushes built-in efficiencies, then take a few extra seconds to tap out strategically placed single dots at the outer edges or to fill any obvious gaps in the gradient.

PART 02.
HOW TO USE YOUR PRESSURE SCATTER & DETAILER BRUSHES.
Your precision scatter and detailer brushes work in a similar way to the precision stipplers but with the addition of various pressure sensitive features that change the scatter, number and density of dots as you press harder with your pen.

These brushes are perfect for creating super fast stipple blends or edge details with short transitions from light to dark. Because they naturally scatter dots on your canvas they are best used in areas of your artwork not confined by tight spaces or the need for exact dot placement.
Get familiar with their use in the video below.
Example artwork by @_jakeforeman
PART 03.
STIPPLE SPRAY AND FILL BRUSHES
Stipple Studio's Stipple Spray and Stipple Fill brushes are built from hand drawn stipple cluster samples that rotate, randomize and repeat as you brush accross your canvas.

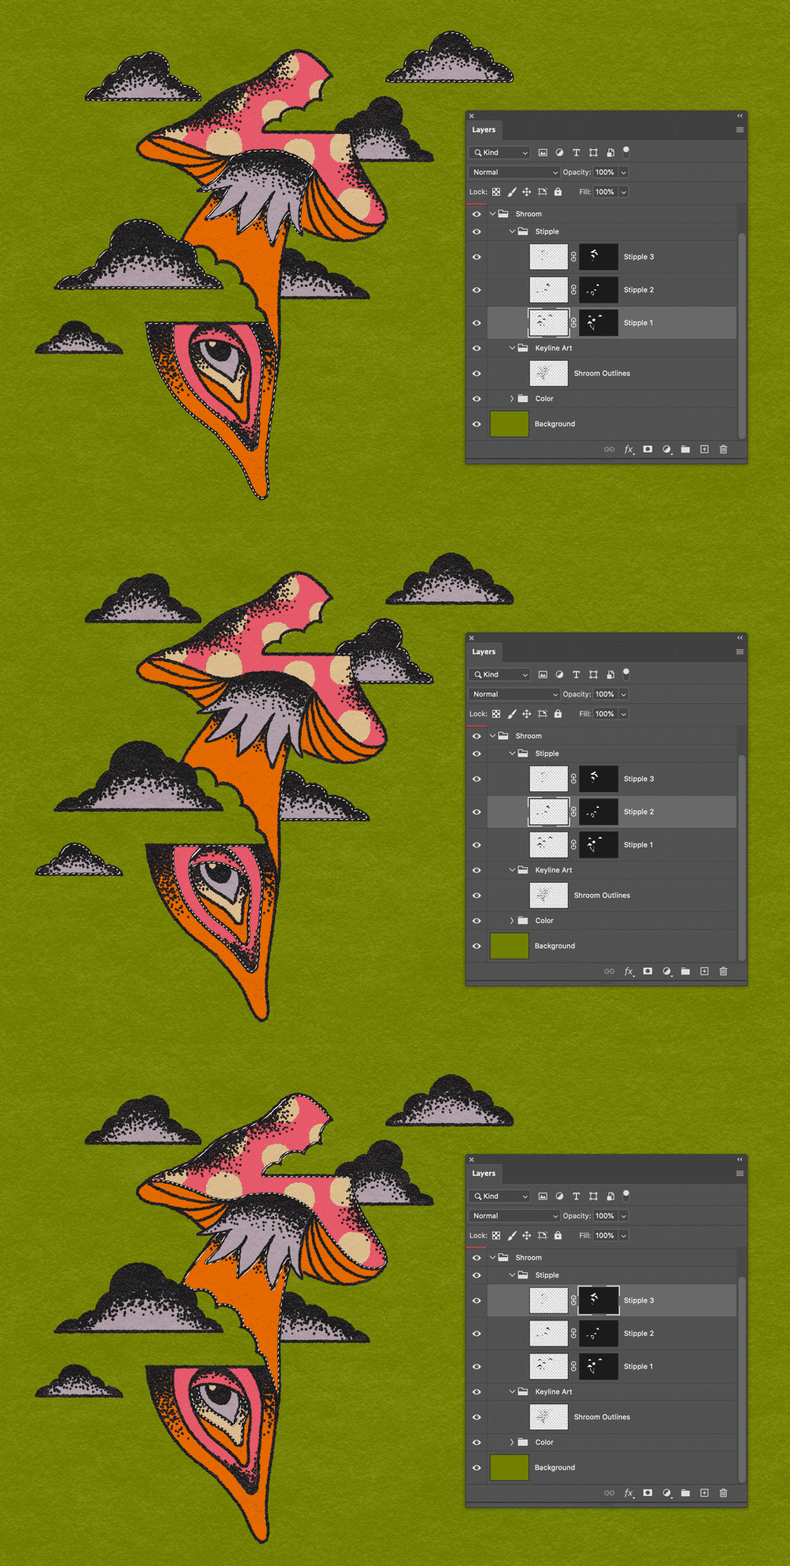
Used in conjunction with layer masks these brushes are equally useful for fast concepting or for creating large gradient blends, outer glows and drop shadows where speed takes precedence over precision.
Watch the video below to learn how to apply your spray and fill brushes using layer masks.
Example artwork by @_jakeforeman
Masking tips and tricks.
-
Plan your selections in advance so that your masked areas are at least one brush width apart. This prevents your brush strokes bleeding from one masked area into another.
-
Don't try to mask everything on one layer as it will make refining your work more difficult later. Make multiple selections on different layers to keep your stipple shading easy to edit if you need to make changes. Too few layers is a pain but so is too many. Aim to find that sweet spot between quick and dirty and one brush stroke per layer.
-
Be sure to name and organize those layers. Future you is gonna want to murder the jerk who racked up a bunch of layers with names like "Layer 47 copy 8". That s#!t is draining when it's time make changes so spend a little time up-front naming your layers and save your creative energy for making your work the best it can be.
-
Make sure the layer thumbnail is selected before brushing. If you apply your brushes on the layer mask thumbnail things will get weird and/or confusing real fast.

Get the complete Stipple Studio brush pack here here.


